Little Sheep Tags :: a tutorial ::
Posted by vicki brown on
I'm afraid to admit I have already been thinking about Christmas knitting, really in terms of knitting time it isn't very far away at all. As a side thought of this (or maybe in a little attempt at procrastination) I got thinking about accompanying gift tags for all these handknits. As a result these little sheepy tags were born.
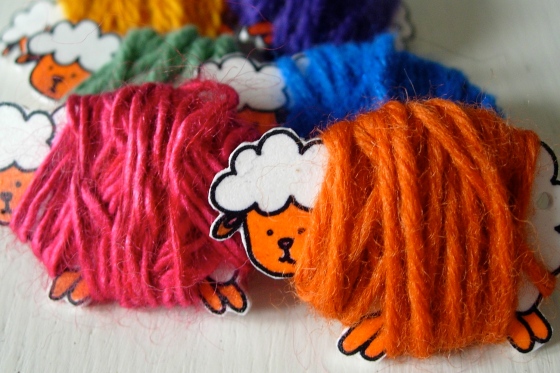
Last year I made little cardboard tags with yarn information, washing instructions and a little spare yarn wound around (the same yarn as used in the piece) incase of any mishaps. Recently I've been playing with shrink plastic and so the idea for these little sheep was born.
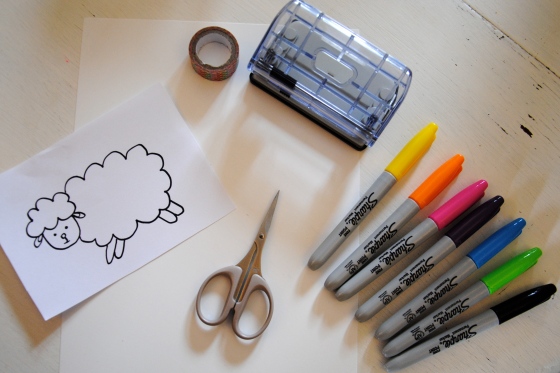
If you would like to make your own I have sheep template here, you are welcome to print out and trace. With the shrink plastic I used the resulting tags measure 4.5cm (1.75") across and 2.5cm (1") tall. Here's what you'll need ::
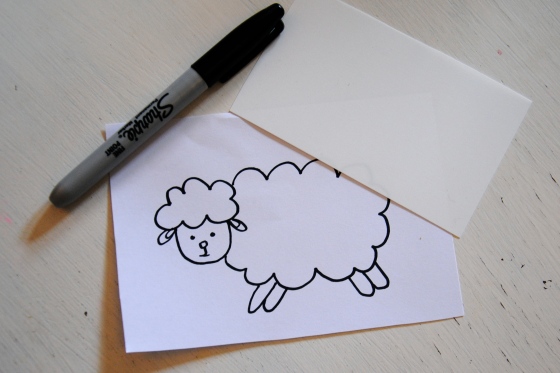
Cut a piece of shrink plastic to a size just a tad larger than the picture you are going to trace.
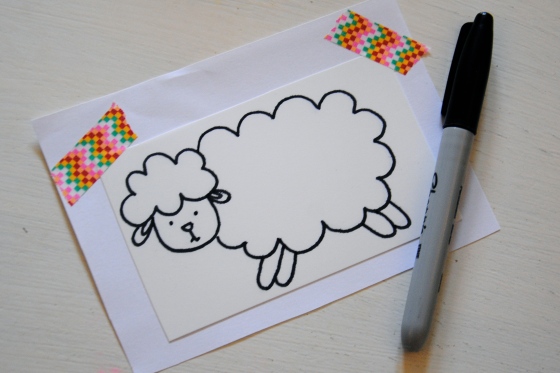
Carefully tape your plastic over the picture (this is optional really, it helps to keep the plastic in place making the tracing easier, but you could just hold it in place with your hand if you thought that would work for you).
Using a black permanent marker trace your picture onto the plastic.

Last year I made little cardboard tags with yarn information, washing instructions and a little spare yarn wound around (the same yarn as used in the piece) incase of any mishaps. Recently I've been playing with shrink plastic and so the idea for these little sheep was born.
If you would like to make your own I have sheep template here, you are welcome to print out and trace. With the shrink plastic I used the resulting tags measure 4.5cm (1.75") across and 2.5cm (1") tall. Here's what you'll need ::
- Shrink Plastic (I used Wizard Shrinkles in white which I got from HobbyCraft)
- Permanent Markers
- Hole Punch
- Small Sharp Scissors
- Picture to trace
- Masking Tape
Cut a piece of shrink plastic to a size just a tad larger than the picture you are going to trace.
Carefully tape your plastic over the picture (this is optional really, it helps to keep the plastic in place making the tracing easier, but you could just hold it in place with your hand if you thought that would work for you).
Using a black permanent marker trace your picture onto the plastic.
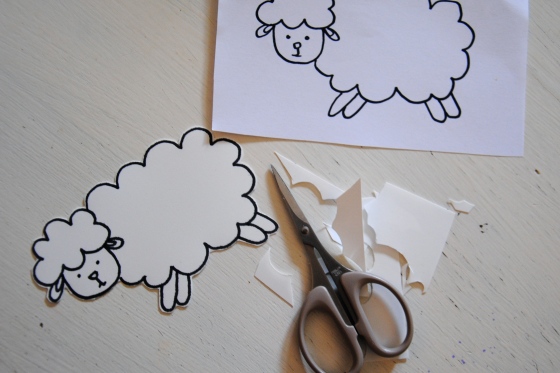
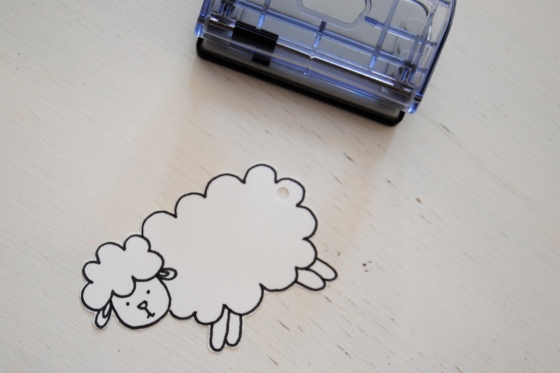
Remove your plastic from the drawing underneath and carefully cut around it, using your small sharp scissors, leaving a couple of millimetres between your drawing and the edge. This is the tricky part!
Using the hole punch, punch a hole in his tail, this is so you can thread a piece of string/yarn through it so that you can attach it later. You might want to practice the positioning of your hole on a piece of paper first, so you can work out how far in you need to go, I won't lie, I messed this up on my first attempt!
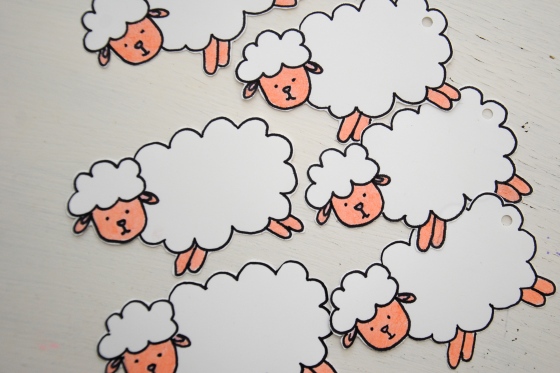
If you like you can do a little colouring at this stage or if you like a classic look leave him plain. I coloured in the faces, legs and ears of mine.
And now you're ready for the fun part, baking! Follow the instructions on your shrink plastic and watch your little sheep curl up, shrink and flatten down again. I had a couple of pieces of parchment paper and a heavy book ready, then as soon as I took them out the oven I popped them between the 2 sheets and put the book on top to help flatten them further.
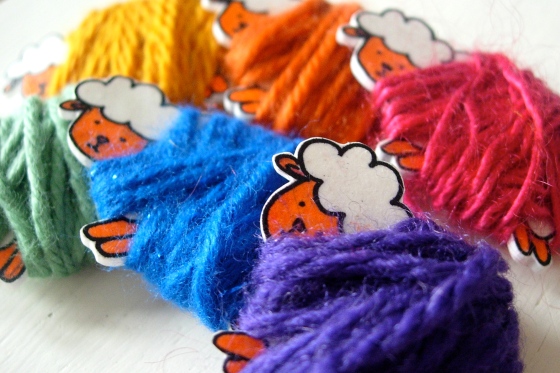
You can then varnish them if you would like them to have a glossier finish. And there you have it, little sheep gift tags, perfect little bobbins to accompany your beautifully crafted hand knit and crochet pieces.


